🏠
 en ⟩
en ⟩  Apps - Software ⟩
  GIMP ⟩
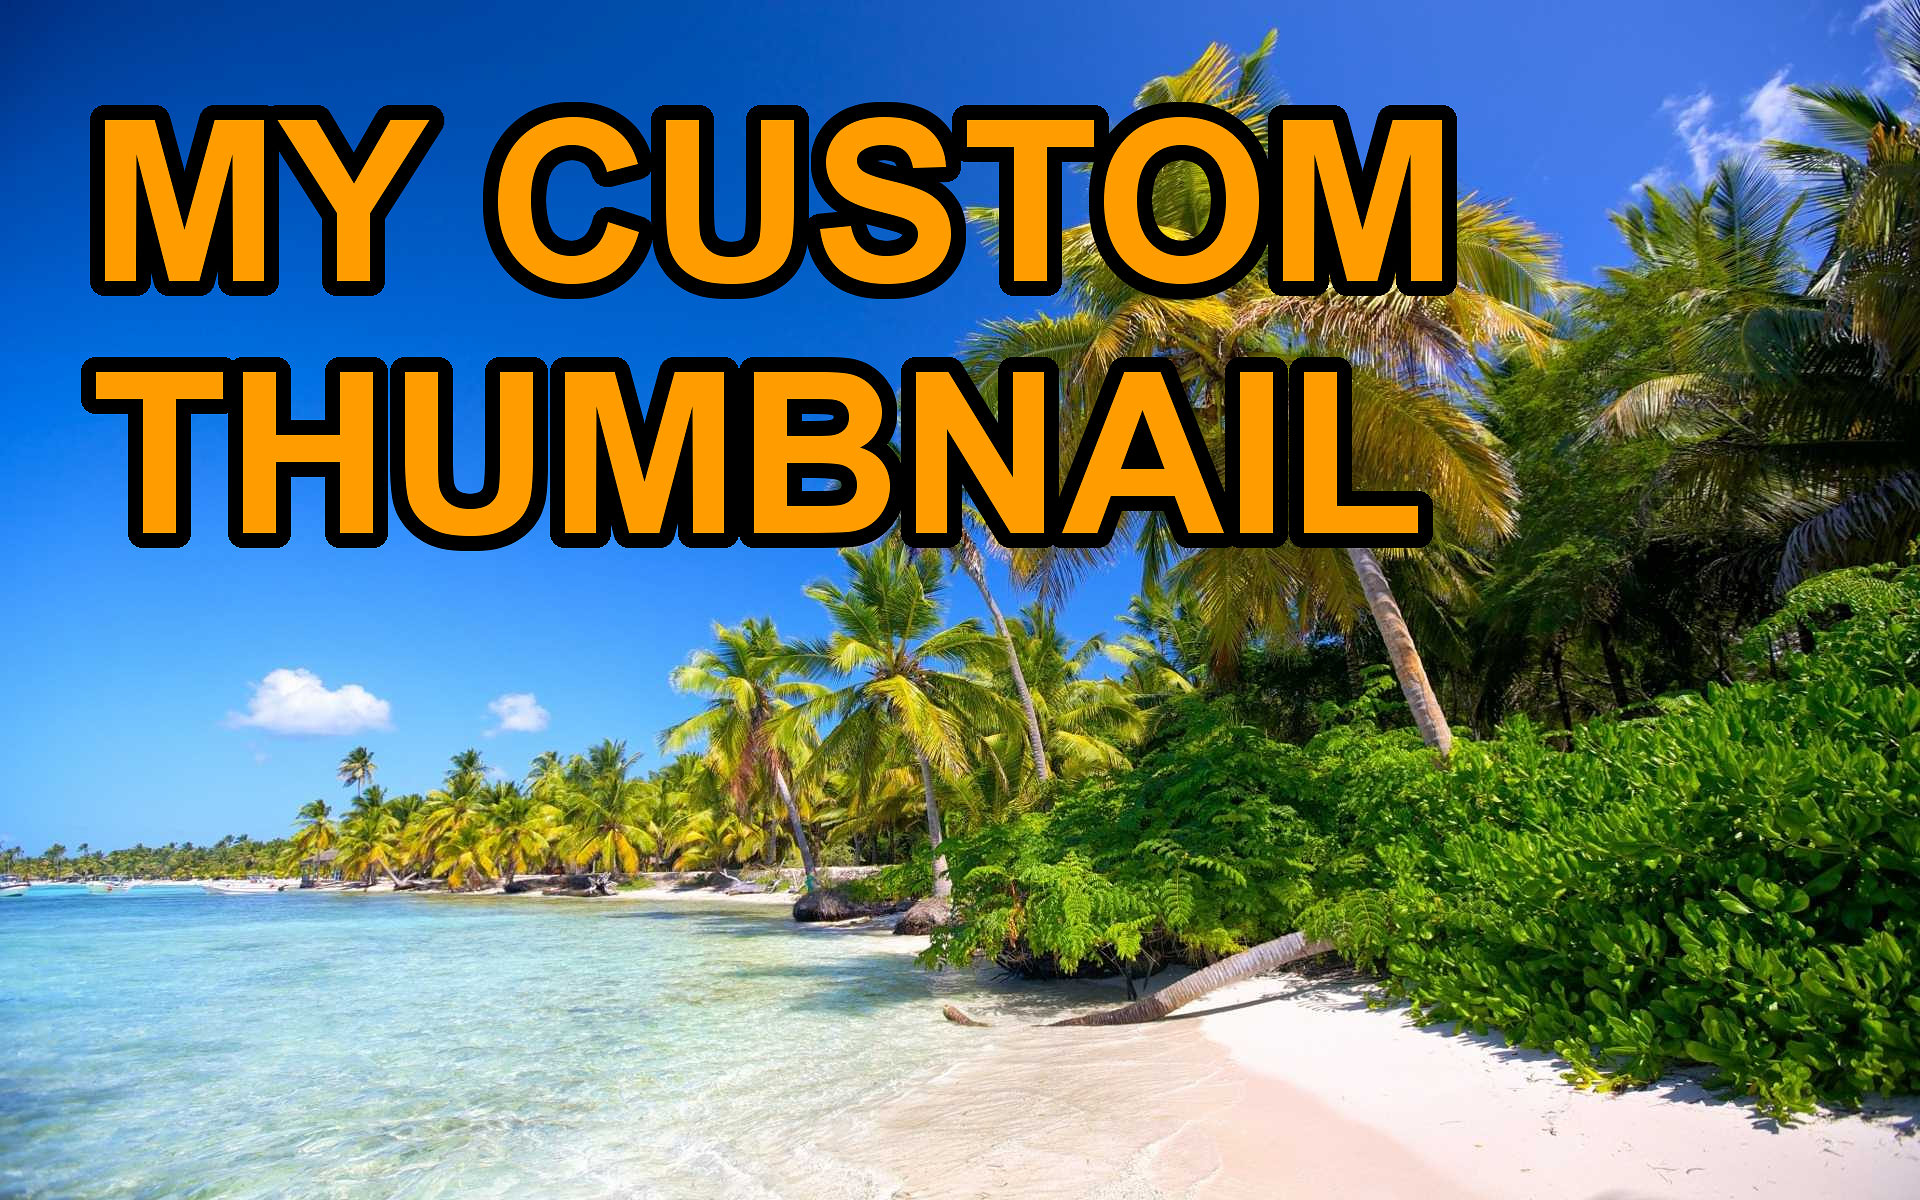
 How to make a custom YouTube thumbnail
How to make a custom YouTube thumbnail
created 10 y • edited 10 y by Ziggy • Updates history (4)


● Easy 🚩 14 steps 🕗 5 minutes
To make a custom YouTube thumbnail, you need 1 thing:

 Find info page about gimp
 Find a guide to know how to make a gimp
Open a background picture
Click Text tool
Enter the video title
Choose a font
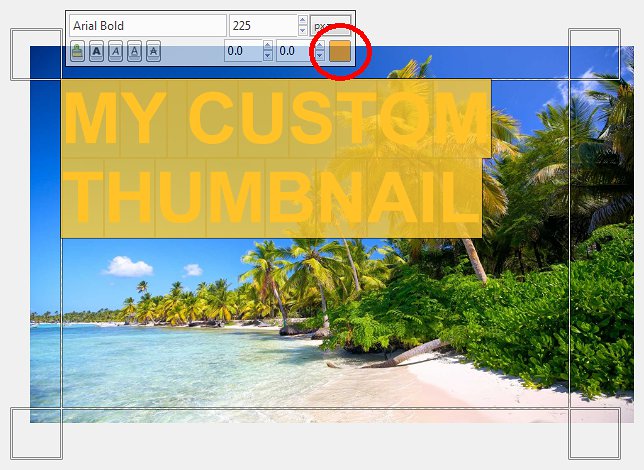
Expand text box & enlarge font
Choose a color
Discard text information
Expand layer
Duplicate layer
Make selection from text
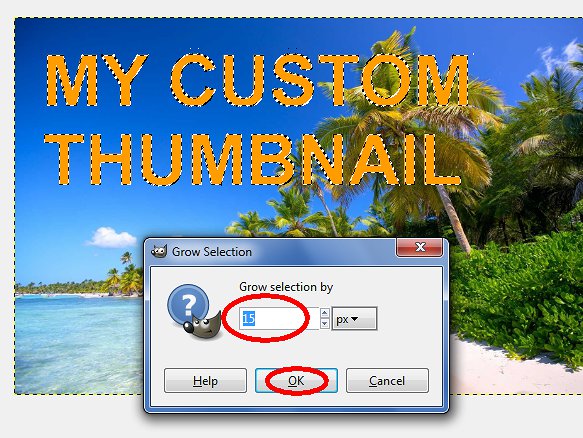
Grow selection
Enter value
Fill in black
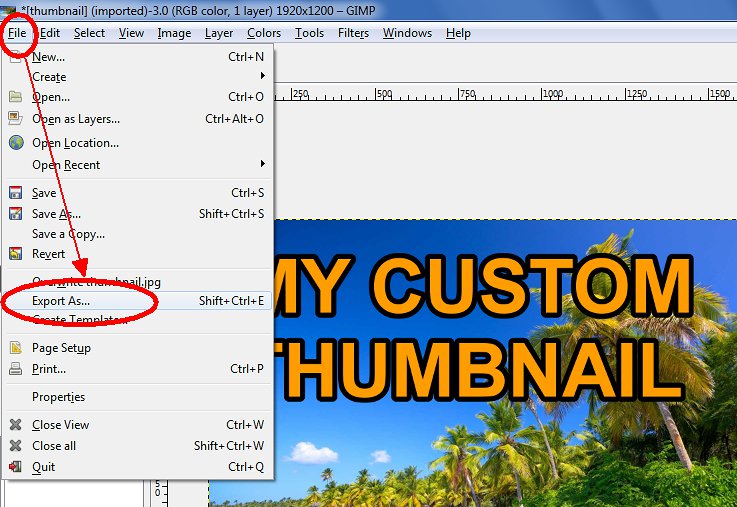
Export your thumbnail
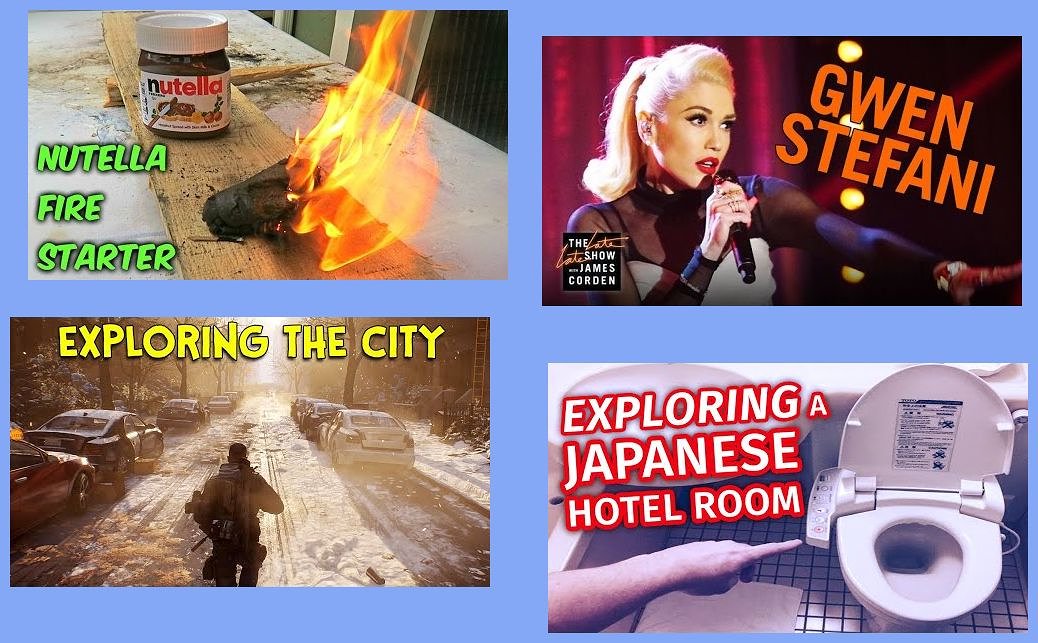
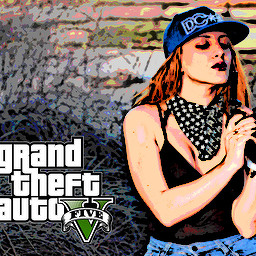
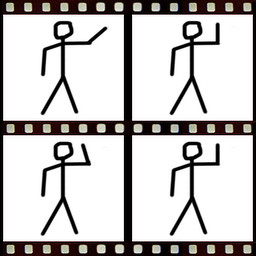
Here are some cool examples of custom YouTube thumbnails i found on YouTube:
1
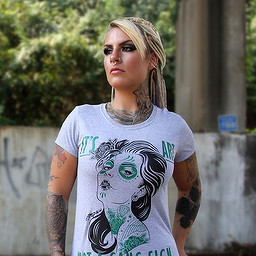
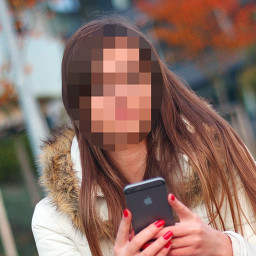
For this tutorial i will use a random picture.

Start with a large enough picture to make your custom YouTube thumbnail. To make a good thumbnail, it must be as large as possible (usually 1280 x 720 px or bigger) and have a 16:9 aspect ratio.

2
A
icon to start the text tool, in order to add text in the picture.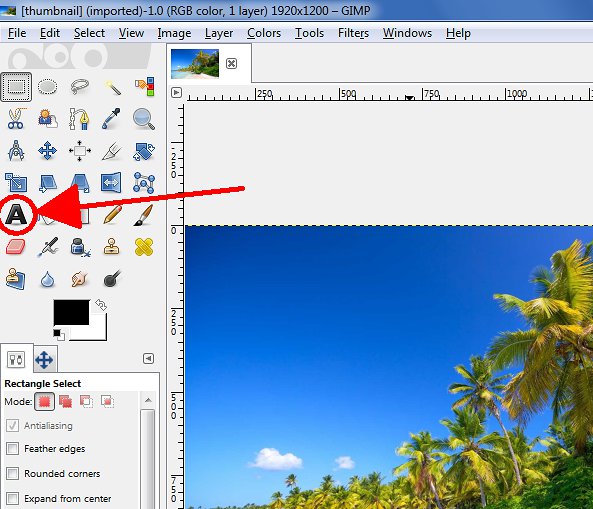
3
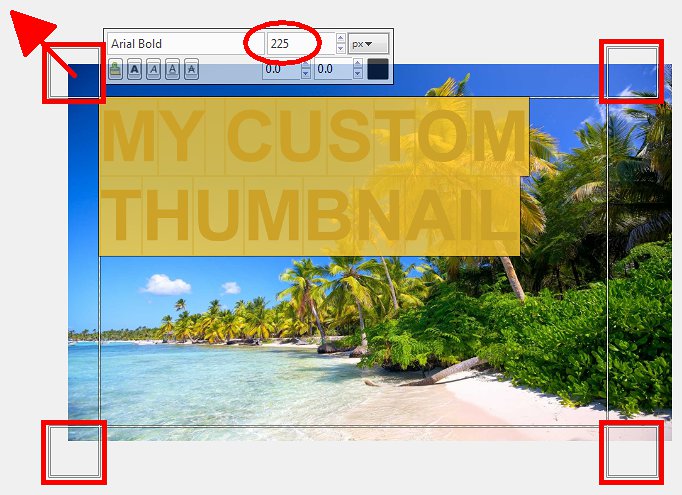
b. Type the text you want to add in your YouTube thumbnail (mostly the video title). For this tutorial i will just enter
MY CUSTOM THUMBNAIL

Make the thumbnail's text more easy to read by writing it all in CAPITAL LETTERS

4
Arial Bold.
If you don't know any font name, just enter "a" or "b" so you can still choose a font.

5
b. Select all the text.
c. Use the up arrow button to enlarge the font until it covers a big part of the picture.
The bigger the text is, the easier it will be to read, especially when thumbnails are displayed in a small size, like in the related section 
6
Choose a color that is not very much used in the picture, the text will be easier to read!
7
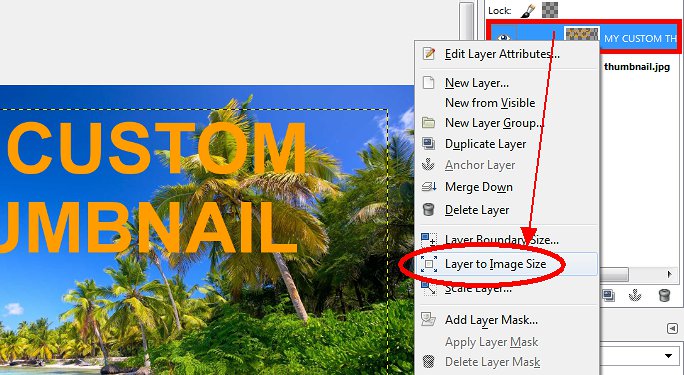
Discard Text Information.

8
Layer to Image Size
9
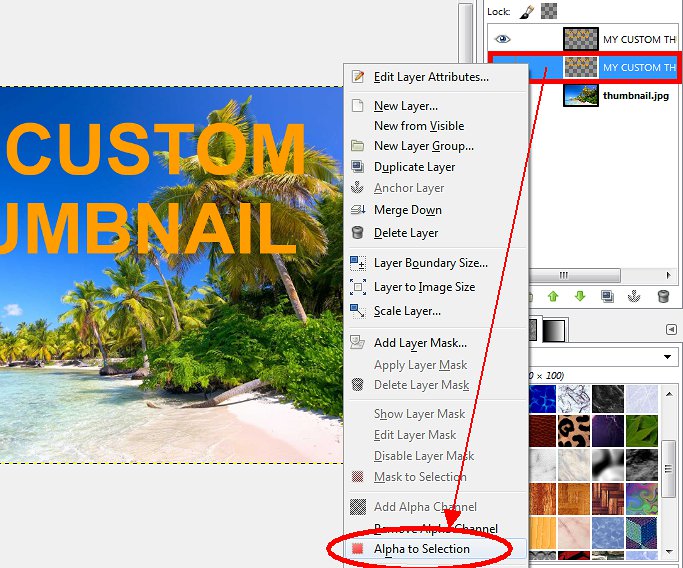
Duplicate the layer by right clicking it, then
Duplicate layer.

10
Do it by right clicking the layer, then
Alpha to Selection.
Be sure to be focused on the second layer, which will be used to make the black border, so it must be under the first layer (which will stay orange)
11
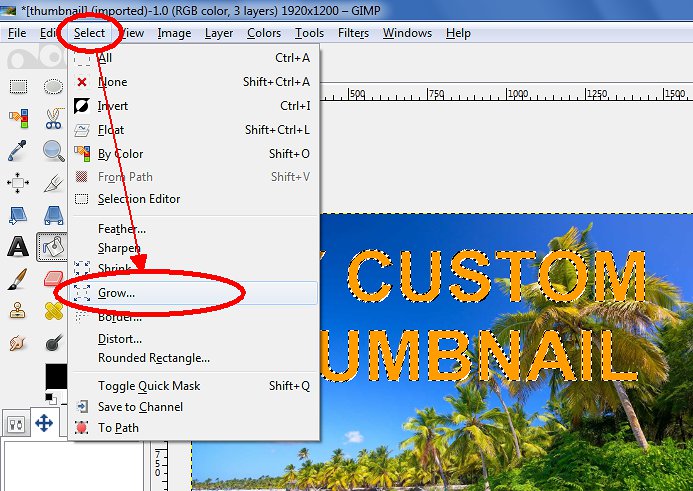
To grow the selection, just click
Selectthen
Grow
12
15.
If you don't know, you can try a number, and if it's not enough, click
Editthen
Undo Grow Selection, and try again with a higher number.
13
1
Click Fill tool2
Select Black color3
Check FG color fill
4
Check Fill whole selection
5
Click anywhere in the selection to fill it.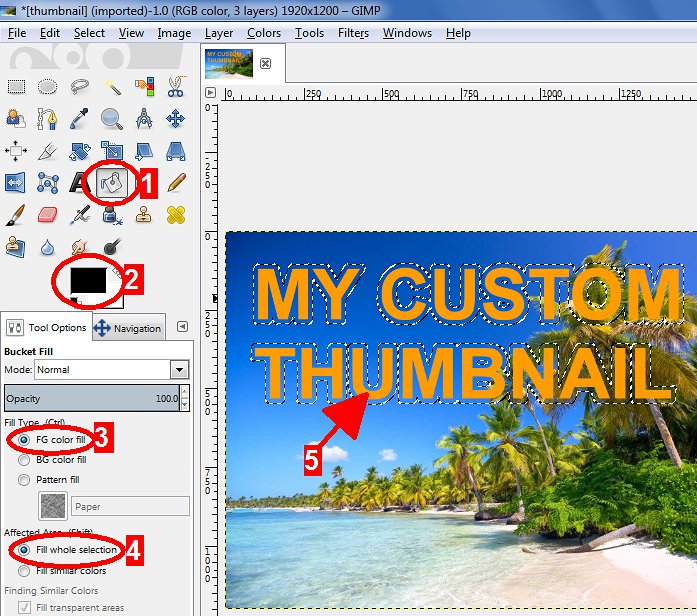
14
Filethen
Export As....
Your thumbnail exported file must be under 2MB in order to upload it on YouTube.
Export your thumbnail as a JPEG (.jpg) image so it will be lighter than a PNG image, to remain under the 2MB YouTube limit for thumbnail uploads.
〰〰〰 Photo Credits 〰〰〰
Intro montage
youtube.com/user/CrazyRussianHacker
youtube.com/user/cmbroad44
youtube.com/user/TheLateLateShow
youtube.com/user/FRANKIEonPCin1080p
Main picture
forhdwallpapers.com/tropical-beach-…
◄ GIMP
GIMPHave some advice, techniques or tips to share about GIMP?
📝 Create a guide
📝 Create a guide


 DM
DM


Sponsored
What do you think of make a custom YouTube thumbnail?

No comments. Be the first!
Follow comments of this guide by clicking the Follow button above!
Follow comments of this guide by clicking the Follow button above!